.jpg)
Handmade Baby Blocks
- cultureofwellnessc

- May 5, 2020
- 2 min read
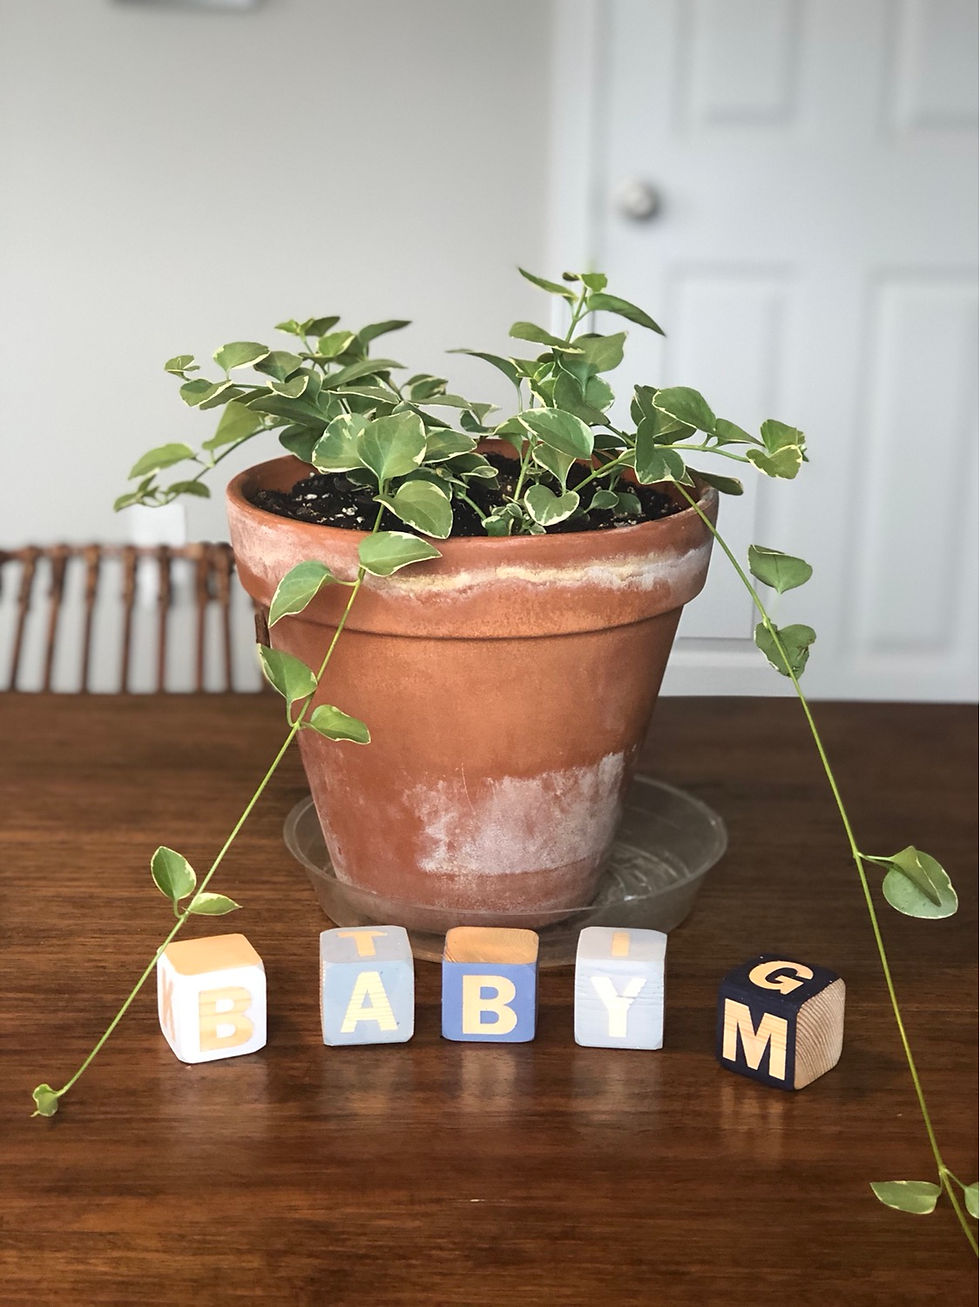
When working on our baby registry, I couldn’t find any natural looking blocks that matched the nursery and were responsibly priced. So, I started looking for ways to make our own and found tons of great DIY resources. Plus, it was a great way to use this extra time to make something special for our little one.
Supplies:
Wooden blocks - Used a scrap piece of 2x4 and cut 36 - 1.5” x 1.5” cubes. You can also find similar ones on Amazon for about $20.
Baby safe paint - Used Milk Paint which is environmentally friendly and non-toxic. I bought 4 samples at just under $4/each and had plenty for 36 blocks. Plus, the order arrived in just a few days! https://www.realmilkpaint.com/category/colors/
Baby safe varnish - I used a non-toxic mineral oil that we found at our local Home Depot.
Sander
Paintbrushes
Tape
Letter + Number stickers - we used these from Amazon. https://www.amazon.com/dp/B000CSIA7K/ref=cm_sw_r_cp_api_
Instructions:
Cut blocks and use sander to smooth rough spots and edges (thanks hubby!).

Select 4 letters for each block. It helped me to write down the orders first making sure I didn’t put vowels together and used common letters more often.
Once you have your order, start placing them on the blocks. I rotated my placement half vertically and then half horizontally around the blocks to mix it up, but that’s up to you.

Tape the edges if you need. I free-handed mine to save some time.
Paint over the letters and leave 2 natural sides showing (non-letter sides). Note: the French Gray was a lot ”greener” than it looked online so I mixed Navy with the Oyster to get a more denim color.

Leave the stickers on the blocks and allow enough time to dry.
Once dry, peel off stickers and coat with finishing product to seal.


Comments